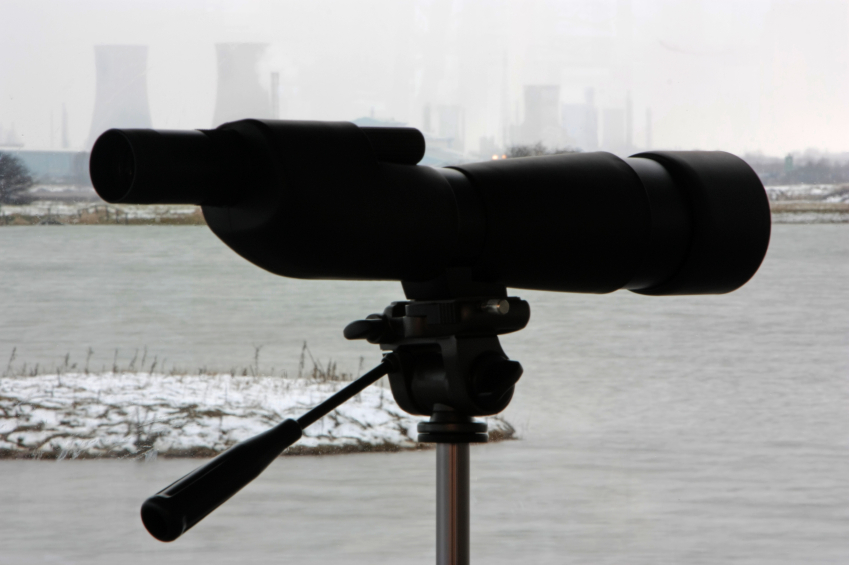
Photos Through A Telescope
If you have a passion for stargazing and a passion for photography, you might be surprised by how easily you can combine your interests. Taking pictures through a telescope lens can be tricky without the right equipment, but once you have the gear and setup for the job, you can capture amazing images of the moon and stars. Here is a guide explaining how to capture photos through a telescope.
What You Need
- A Telescope (preferably one that can track objects in the sky)
- A DSLR Camera
- A Universal T-ring Specific To Your Telescope
- A T-ring adapter Specific To Your Camera
- A Remote Shutter Control
Step 1 – Set Up The Telescope
Set up your telescope as normal, but remove whatever your current eyepiece is. In place of that, insert a universal T-ring, which acts as an eyepiece for your camera. You may need to do this after attaching the ring to the camera, which we will describe in Step 2. If you have an alignment program on your telescope, align the device so that it can track objects in the sky. This way you don’t have to constantly move to take a picture.
Step 2 – Set Up The Camera
To set up the camera, you will need to remove your lens and put your T-ring adapter on instead. Then you can secure the adapter onto the T-ring. If you have not already put the T-ring on the telescope, you can do so now. This should make your camera entirely connected to your telescope, as if the telescope is the lens for the camera. You can use the viewing window on the camera as an eyepiece to see what you are looking at.
Plug a remote switch into the camera and set the format to “Bold”. This will allow you to hold the shutter down for as long as you want to control how much light the camera absorbs. The remote shutter helps you control this without touching the camera so you do not blur the image.
Step 3 – Take A Picture
Once you have moved your telescope to a position you like, lightly press on the remote to get the camera in focus. Then you can hold your shutter for as long as you want. The more you hold it, the more light your camera is going to absorb. You may need to play around with different time settings until you find the one that works for your current needs.
If you are focused on something bright like the moon, you may not need much time with the shutter. If you are focused on something deep in the sky, like a nebula, you may need to hold your exposure a lot longer to absorb light from far away. That is where tracking really comes into play because the telescope will move as the object moves in the sky.
You may have to practice a little bit before you really get the hang of this, but eventually you will be able to capture photos of the stars with ease. Prepare yourself for the next big astronomy event in your area, and you will have amazing photos to add to your portfolio.